
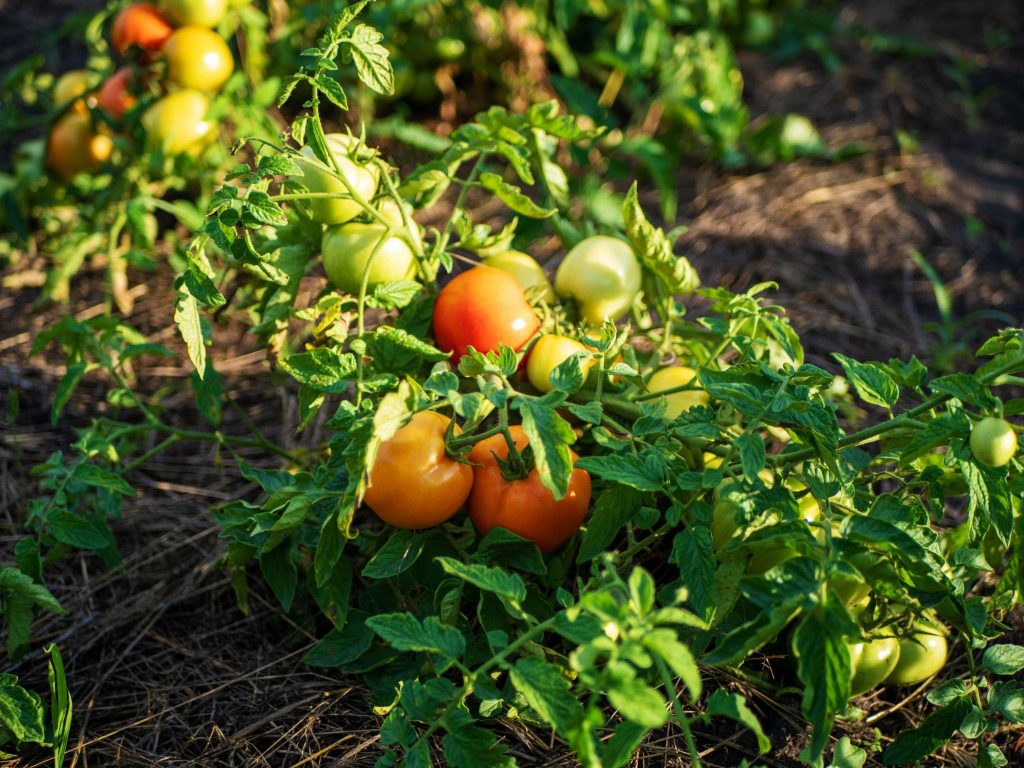
Are you anxious to start your garden planning for this year? Want to know what you can do in the early spring months to get a jump on a successful tomato harvest come midsummer?
Here are sixteen tips that will help ensure your success. From choosing a suitable variety of tomatoes to preparing the soil, we’ve got you covered. So put on your gardening gloves, and let’s get started!
1. Start your tomato plants from seed

Starting your tomato plants from seed is one of the best ways to get huge, healthy plants that produce an abundance of fruit. While growing plants from seed takes a bit more work than buying plants from a nursery, it’s well worth the effort.
Tomatoes are pretty easy to grow from seed. Here are some of the benefits of growing your tomatoes from seed:
- Earlier harvests: The head start on the growing season can mean you can begin harvesting weeks earlier. Whether you partially depend on your garden to feed your family or you’re just looking to enjoy that first tomato sandwich of the season, it goes without saying that this is a significant benefit to growing from seed.
- More tomatoes: With indeterminate varieties of tomatoes, getting a head start on the growing season means that you’ll add weeks to the harvesting window. Indeterminate tomato varieties will typically keep producing until the autumn frosts hit.
- Less expensive: Growing tomatoes from seed helps reduce your cost per plant dramatically. While the average tomato plant at a nursery in the U.S. is around $4-$5, you can easily purchase one or two packets of tomato seeds with that same amount. Each packet will have 10-50 seeds, depending on the cultivar. That’s significant savings!
- More variety: Growing tomatoes from seed allows you to choose from a broader range of varieties than what is typically available at the local garden centre. You can experiment with lesser-known tomato varieties and experience a broader range of flavours and colours during harvest time.
When you plant your own seeds, you can start them indoors in small pots or growing trays. They will be ready to transplant into the garden when the weather is warm enough, generally when night temperatures stay above 55 F or 13 C.
2. Choose suitable tomato varieties
There are hundreds of varieties of tomatoes, so it’s worth exploring your options to choose ones that will do well in your climate. Choose tomatoes that you will enjoy eating, too.
What tomatoes do you like?
Consider the size of the tomato. Do you want a small cherry tomato or a large heirloom variety?
Next, think about the shape and colour. Some tomatoes are round, while others are oblong or pear-shaped. Tomatoes can be red, green, black, purple, orange, yellow, or even striped. If you’re growing tomatoes to sell locally, there may be local preferences to take into account.
Consider the flavour, as well. Some tomatoes are sweet, while others are tart, tangy, or smokey.
Calculate when the tomato varieties you’re looking at will be ripe if this is something that matters to you. Early season varieties will be ready to harvest earlier in the summer, while late season varieties will take longer to mature.
What tomatoes will grow best in your area?
Tomato plants are affected by more than a dozen diseases. That’s why disease-resistant varieties exist! In addition, some tomatoes grow better in high elevation, dry, wet, or cold zones. Select varieties that make sense for where you live.
Disease resistance
Some tomato varieties are more resistant to common diseases like blight, tomato mosaic virus, and early rot. If you live in an area where these diseases are prevalent, or you’ve had issues with these diseases before, choose a variety that is less likely to be affected.
Local climate
Some varieties are better suited to warm climates, while others thrive in cooler conditions. Knowing the average temperatures in your area will help you choose a variety that is likely to produce a good crop.
By taking the time to choose suitable tomato varieties, you can ensure a successful growing season. If you’re unsure which varieties to choose, ask for help at your local nursery or gardening store. Alternatively, reach out to your local gardening extension or ask a local gardening Facebook group about which varieties
3. Amend the soil before planting

If you’re planning on growing tomatoes, one of the most important things you can do is to amend the soil. Amending the soil means adding organic matter like compost or manure.
This helps to improve drainage and aeration, two essential factors for healthy tomato plants. But, most importantly, amending the soil provides extra nutrients that can help your tomato plants to thrive and produce more fruit.
There are a few different ways to amend the soil for tomatoes. You can dig organic matter into the topsoil at any time during the year or mix it with the soil when you plant your tomatoes. One of the most popular ways to amend the soil for tomatoes is by adding a mixture of soil amendments to your tomato planting holes when you transplant your tomato seedlings outdoors in the springtime.
Whichever method you choose, taking the time to amend the soil can pay off in a bumper crop of delicious tomatoes.
4. Space tomato plants at least 18 inches apart

When it comes to tomato plants, spacing is essential. If plants are too close together, they won’t have enough airflow. Insufficient airflow can lead to many problems, such as yellowing leaves, stunted growth, and increased disease risk.
Not only will the plant itself be affected, but the quality of the fruit will also suffer. In addition, crowded plants are more likely to be damaged by strong winds or heavy rains.
By spacing plants at least 18-24 inches apart, you can help ensure they have room to grow without restricted airflow and produce tasty fruit.
5. Water tomato plants often
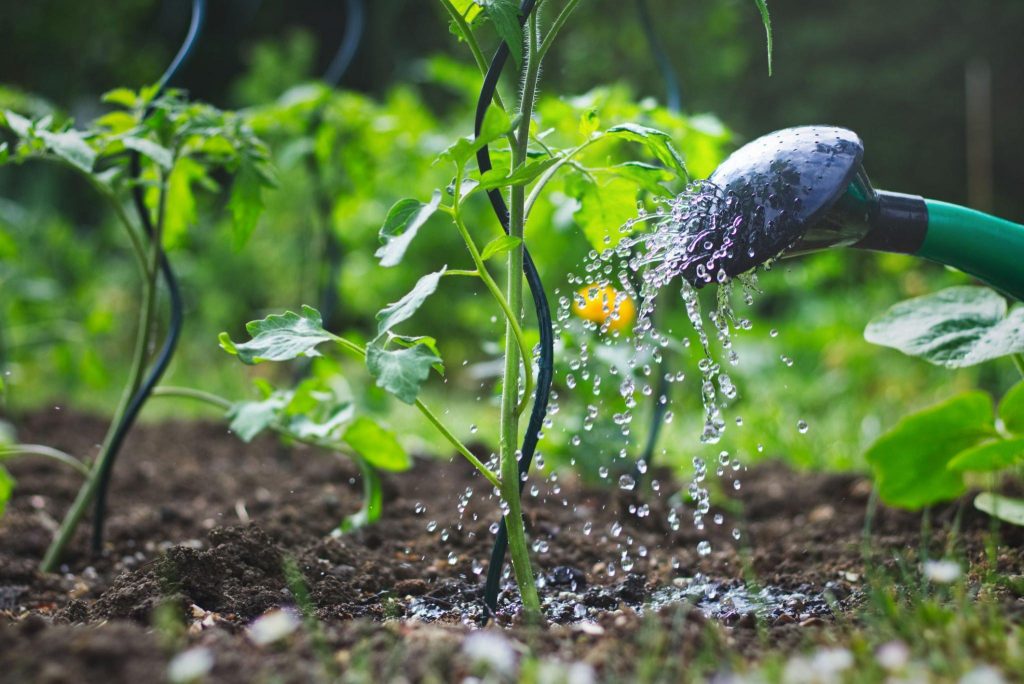
Watering your tomato plants regularly is essential for healthy growth and bountiful harvests. Water your plants on a schedule and stick to that schedule unless recent rain means you can skip a watering day.
Water helps tomato plants to grow strong roots, and it also prevents the fruits from cracking. When tomato plants don’t get enough water, the fruits can start to split open, making them more susceptible to disease.
If you water your plants irregularly, the fruits can lose their flavour. Splitting is also common in tomatoes that are watered irregularly. When a tomato fruit receives a rush of water after a long dry spell, that water causes the fruit to split.
Water tomatoes deeply, but be careful not to over water them as this can lead to problems such as root rot, especially when they’re smaller or in containers.
6. Install drip irrigation

One of the best springtime gardening tasks you can accomplish for your tomato plants is to install a drip irrigation system.
Drip irrigation delivers water directly to your plant’s roots to better absorb the water and nutrients they need. Drip irrigation improves efficiency so that you can use less water overall.
Because the water is applied directly to the roots, there is less opportunity for fungal diseases to take hold. As a result, you can expect a healthier and more bountiful harvest from your tomato plants.
So if you’re looking for a way to take your gardening to the next level, drip irrigation is a great place to start. Larger gardening projects like this are best done in the springtime before the busier summer and fall harvest seasons arrive.
7. Plant them in the right spot

Tomatoes need full sun and well-drained soil to thrive. Be sure to choose a spot in your garden that meets these requirements.
Depending on how intense the sun is in your area, you may be able to get away with planting tomatoes in partial shade. This is the exception and not the rule, however.
If you live in a high-elevation area with intense sun (like Chile, China, Afghanistan, India, or Colorado), it’s worth experimenting with planting some of your tomatoes in partial shade.
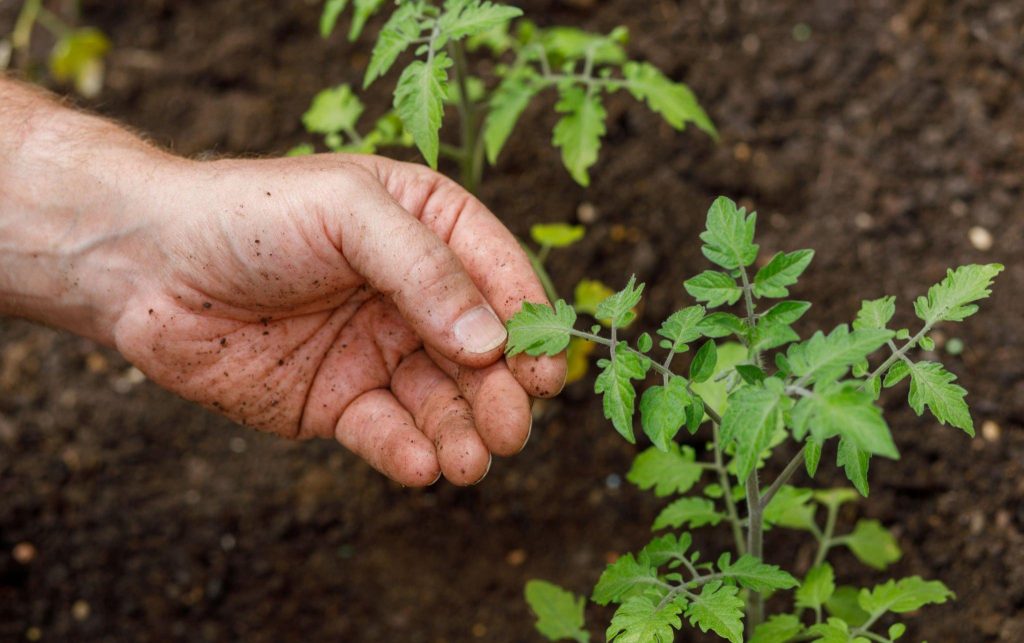
8. Transplant seedlings with care

Transplanting tomato seedlings can be a delicate process, but there are a few things you can do to ensure the best possible results.
Wait until all risk of frost has passed and your tomato seedlings are at least 3-4 inches tall to transplant them. Pinch off any flowers that have developed before planting them outdoors. Early flowers on tomato plants can inhibit stem, root, and leaf growth, which is critical for your plant’s health in this stage of life.
Before transplanting your tomato seedlings, the soil temperature should be at least 55 degrees Fahrenheit or 13 degrees Celsius. If necessary, you can speed up soil warmth using plastic sheeting for a few days before transplanting your tomatoes.
Bury the stems deep – as much as two-thirds of the plant’s stem should be underground because roots can grow along the entire stem. Planting your seedlings deep will help to encourage a strong and healthy root system. Finally, be sure to water the plants well after transplanting them.
9. Add mulch to your tomato plants

Most tomato plants will benefit from mulch. Mulch helps to suppress weeds, improve soil moisture retention, and keep the soil temperature consistent. There are two types of mulch: organic and inorganic.
Organic mulches, such as straw, pine needles, leaves, compost, and wood chips, break down over time and add nutrients to the soil. These will need to be reapplied annually but are much better for your soil health. Some organic mulches effectively reduce soil-borne diseases.
Inorganic mulches, like black plastic sheeting, last longer but don’t benefit the soil. They have more utility in commercial growing operations.
When choosing a mulch, make sure to choose one that is free of weed seeds and disease. For organic mulches, add a 2-3 inch layer around the base of the plant. Leave some room around the stem since applying mulch in direct contact with your stem can lead to disease and pest issues as your mulch begins to break down.
10. Prune tomato plants regularly
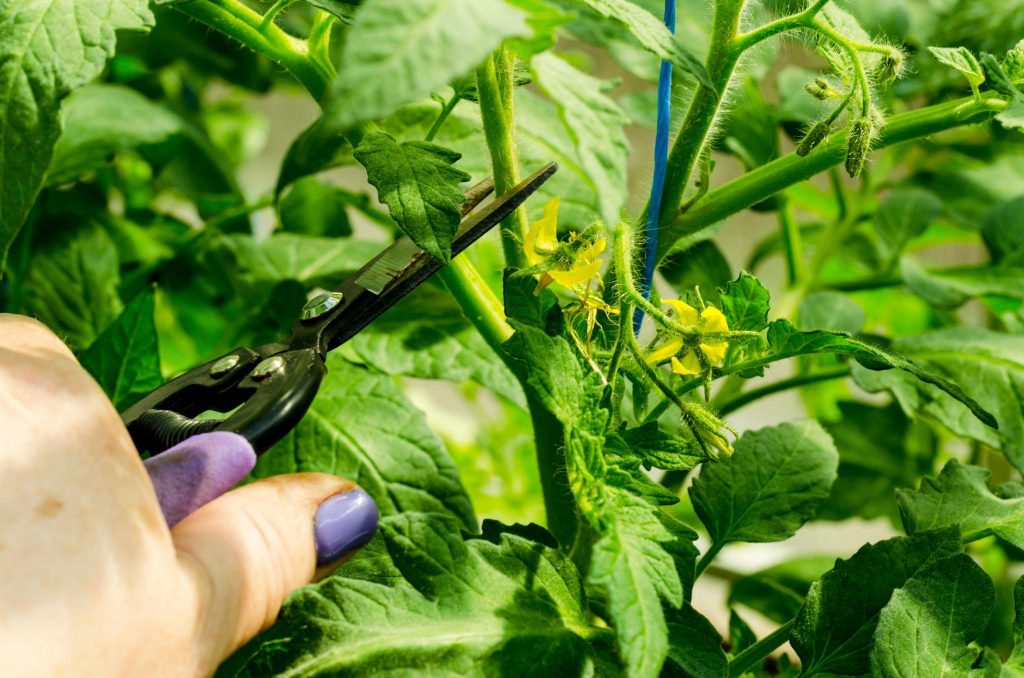
Pruning your tomato plants will help to encourage healthy growth and prevent disease. Be sure to prune off dead or dying leaves or branches and check back regularly for any opportunities to trim off unwanted growth.
Here’s what you should look for specifically when pruning your tomato plants:
Prune suckers
Suckers are shoots that grow in the crotch, or angle, between the main stem and a lateral branch on the plant. Most tomato varieties produce suckers, but some produce them more excessively than others.
Allowing suckers to grow unchecked will decrease tomatoes’ yield because the plant will put its energy into developing the suckers instead of making fruit. In addition, an overabundance of suckers results in a tangled mass of stems, making the plant difficult to harvest.
Remove bottom branches for better airflow
Once your tomato plants have reached about 3 feet tall, you should remove the bottom branches. By doing this, you will improve airflow around the plant, which will help to prevent disease.
By trimming off the bottom branches, you’ll also avoid spreading soil-borne diseases, which tomatoes are particularly prone to. Soil-borne diseases can take hold of your tomato plants when you water them, and the water splashes up from the dirt and onto the lower branches and leaves.
11. Propagate suckers
Tomato plants are unique because you can propagate them from suckers, the small shoots that grow in the joint between the main stem and a lateral branch. While some gardeners simply remove and compost suckers, others see them as an opportunity to multiply their plants for free.
Spring and summer are ideal times to propagate tomato suckers, as they give the new plants time to establish themselves before the cold weather sets in.
To propagate a sucker, look for one that is 3-4 inches tall for the best results. I’ve also had success with smaller suckers, but it’s more hit or miss when the suckers are tiny. Here’s how to propagate a tomato sucker.
- Carefully trim suckers from the parent plant and add them to small glasses of water or propagation jars filled with water.
- Place them in an area with bright indirect light.
- In a few days, the suckers should begin to root.
- Wait for several strong roots to appear on your tomato suckers before planting them in small containers with soil. The roots should be a couple of inches long. Then, when you transfer your seedlings to pots, bury the stems deep so the suckers can establish robust root systems.
- After a couple of weeks, you should notice that the tomato suckers have had a growth spurt. At this point, you can plant them outdoors.

12. Grow indeterminate tomatoes vertically
One advantage of growing indeterminate tomatoes is that they can be grown vertically. This saves the garden space and makes it easier to support the plants and keep them healthy. It also allows the plants to grow continuously throughout the season, producing multiple harvests.
Without intentionally growing your tomato plants vertically, they will have a bushing or vining habit and begin to spread out across the ground, leaving them prone to pest and disease issues.
When building vertical supports for indeterminate tomato plants, it’s essential to choose a sturdy material that will not break under the weight of the plants.
Bamboo poles, cattle panels, or metal trellises are excellent options, but there are quite a few ways to create an effective tomato support system. Once your supports are in place, tie the tomato plants to the supports as they grow.
13. Stay on top of the weeds
For many gardeners, weeding is simply an unfortunate chore that you must do to keep the garden looking presentable. That being said, weeds can severely impact your plants’ health, especially when your plants are freshly transplanted and in the beginning stages of growth.
Weeds compete with your plants for resources like water and sunlight, and they can also harbour diseases and pests. Given these risks, staying on top of the weeds is a good idea when planting tomatoes outdoors. Regular weeding will encourage healthy root growth and help you get a better harvest come summertime.
You don’t need to be perfect and weed your garden every day (almost none of us gardeners do) but do your best to pull weeds as you see them when you’re out watering your tomatoes and other plants. A little bit of effort can go a long way towards ensuring a bountiful harvest later.
14. Protect them from pests and diseases
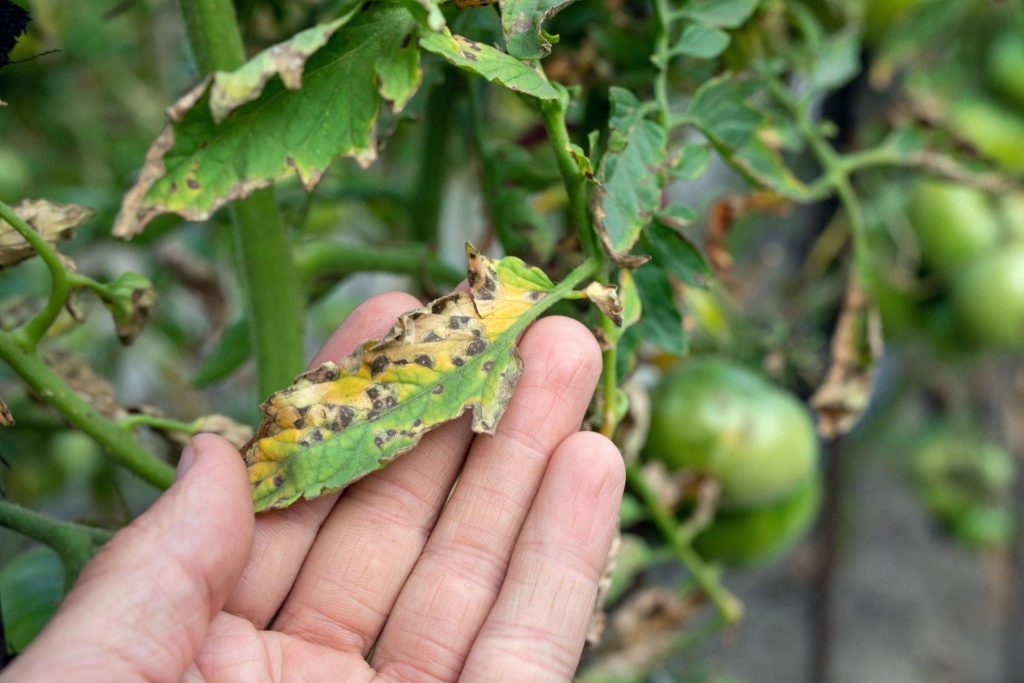
Tomato plants are susceptible to a wide variety of pests and diseases, which can cause significant damage to the plants and reduce the yield of edible fruit.
The most common problems include leaf spots, early blight, and blossom end rot. While there are many chemical treatments available to control these problems, they can be costly and may pose risks to human health and the environment.
Fortunately, you can take several simple and effective organic measures to prevent or reduce pest and disease damage on tomato plants.
- Start with healthy seedlings that have been conditioned adequately for transplanting.
- Keep them well-watered but not over watered, as wet leaves are more susceptible to disease.
- Mulching around the plants can also help to prevent diseases by keeping the leaves dry and blocking weeds that compete for water and nutrients.
- You should prune tomato plants regularly to promote good air circulation and remove infected leaves.
- Use bird netting, insect netting, and other physical barriers if you struggle with animal and insect pests.
- If problems occur, prompt treatment with organic pesticides or fungicides is often effective in preventing severe damage.
Check on your plants regularly – the best way to avoid significant pest or disease damage is to take action quickly and nip the issue in the bud.
15. Utilise companion planting

Companion planting is a technique in which different plants are grown together to boost yields and deter pests. When it comes to tomatoes, here are a few plants that make ideal companions.
- Basil: Basil is rumoured to help to improve the flavour of tomatoes, and it also repels harmful insects.
- Oregano: Oregano deters aphids and other pests, and it also helps to promote healthy growth.
- Marigolds: These flowers are often planted alongside tomatoes. They can act as a trap crop for aphids and other bugs that may damage tomato plants.
There are other recommended companion plants for tomatoes, too. Check out this post for the complete list!
16. Feed tomato seedlings with nitrogen-heavy fertiliser
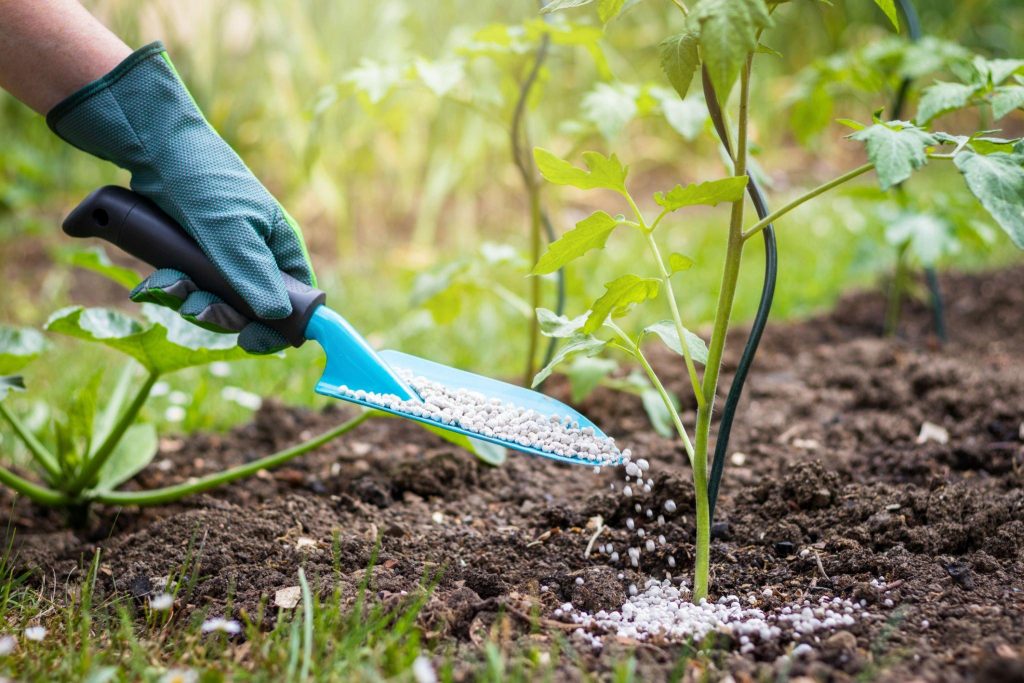
Tomatoes are heavy feeders and will benefit from being fertilised regularly. Tomato plants need nitrogen-rich fertiliser in the early stages of growth to promote leaf, stem, and root health.
Generally, you need to use a liquid fertiliser while your tomato plants are in the seedling stage. It’s recommended to begin by giving them a half-strength dose of fertiliser about once per week while they are still indoors.
You can explore using a more balanced tomato fertiliser once the plants are transplanted outdoors. Fertilising your seedlings will help give them the boost they need to take off and help them to thrive in their new environment.
Be sure to follow the manufacturer’s instructions carefully to ensure that your tomato plants get the nutrients they need to grow strong and healthy.
Video
FAQs for getting the most out of your tomato harvest
What to put in the hole when planting tomatoes?
There are several amendments to add to your tomato planting holes to boost production and soil health. Among them are blood meal, bone meal, and Epsom salt, but you can find a complete list of what to put in tomato planting holes in this post.
Fish head tomato planting – is it worth it?
Fish heads are unnecessary when planting tomatoes. They may actually be unhelpful and lure digging animals to your garden. If you plan to use fish heads in your gardening, bury them deeply to avoid your plants being dug up and killed.
Can you mulch tomatoes with wood chips?
Yes, mulching tomatoes with wood chips is generally a good idea. Mulching tomato plants can help reduce the chance of your plants contracting diseases. Wood chips are particularly helpful for avoiding soil-borne diseases.
Is using hay as mulch for tomatoes a good idea?
Hay can be an effective mulch in some parts of the world, but it has a few cons. For one, it attracts slugs and snails in moist environments. Additionally, hay tends to have seeds in it, so you may find yourself weeding your tomato beds more often if you use it to mulch the garden. That said, hay mulch is undoubtedly better than nothing and can usually be collected for free or very cheap.
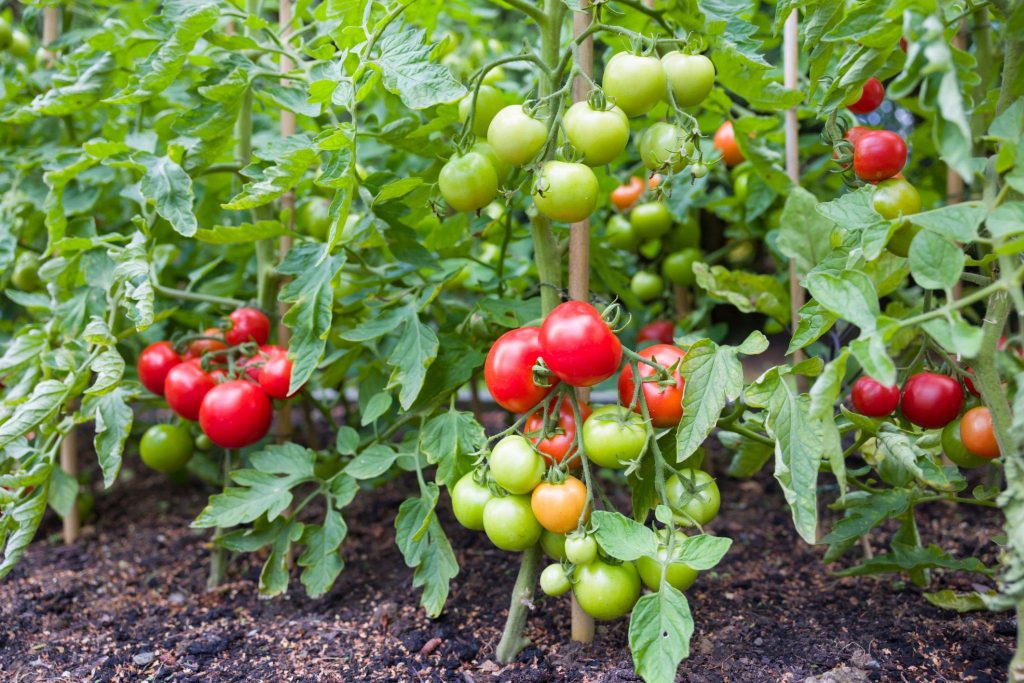
What can I do to get a bigger tomato harvest?
By growing tomatoes from seed, planting in spring, fertilising regularly, and protecting your plants from pests and diseases, you can ensure that your tomato plants will produce a bountiful crop of delicious fruits come summertime.
Conclusion
Now that you’re equipped with essential spring tasks for a huge summer tomato harvest, it’s time to start. By completing these steps, you can ensure healthy plants and a bountiful crop of delicious tomatoes. From planting to fertilising to pest control, we’ve got you covered.
I recommend writing these tasks down so you can be sure you’re not missing anything important. If your life is relatively busy, scheduling out these tasks in a planner or adding reminders to your phone or calendar can be a great way to make sure you’re not skipping anything important. Now get out there and start gardening!